
We have already published a few tutorials with information about our new email marketing software, but today we will see how to create subscription forms.
You’ll find several new features in this release that will help you create custom opt-in forms.
In fact, we’ve already seen how to create custom fields and groups or segments, which we will take advantage of in this post, to see how to add these fields in our signature forms.
· Creating signup forms
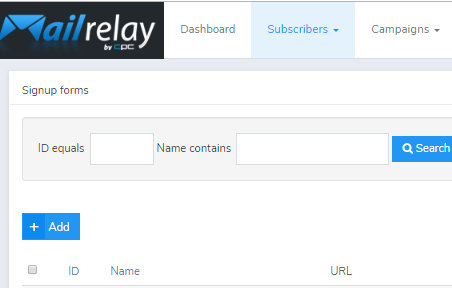
To create a new form, click on Subscribers -> Signup forms -> Add:
This is the form creation screen. We have many options, so we are going to explain all the steps slowly:
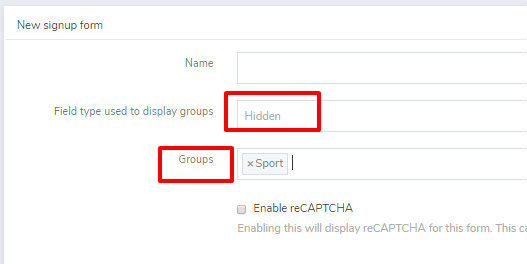
These are the first three fields:
- Name> the name of the form. This is an internal field that we can use for identifying the new form
- Type of field used to display groups> our subscribers will have to be added to at least one group on our list of emails. We can display a list with available groups so that they are the ones who will choose the groups to which they wish to register, or we can configure the groups as “hidden.” In this case, they will be automatically added to all the groups that we choose in the next step.
- Groups> as we explained in the previous step, your users will have to be added to at least one group. Ideally, you should create a new group to include your new subscribers, but if you prefer to give them the option to choose from several groups, you can select all the groups that will be displayed here.
- Activate reCAPTCHA> With this option; we can enable captcha for all new subscribers. This can be very useful to block malicious or invalid email addresses.
After setting the basic options for our subscription form, we can configure more advanced aspects that will facilitate automation tasks, such as custom fields. Initially, the system will work with two required fields, “email” and “groups,” because without them it will not be possible to register the new subscriber in the database:
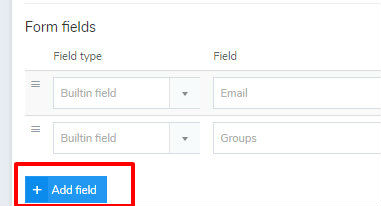
That’s why we only have email and groups by default.
Since we have selected the group as “hidden,” visitors will only need to enter their email address to subscribe (and fill in the captcha), nothing else.
If we want to collect more information from our subscribers, for instance to ask them their favorite sport; we can click on Add field:
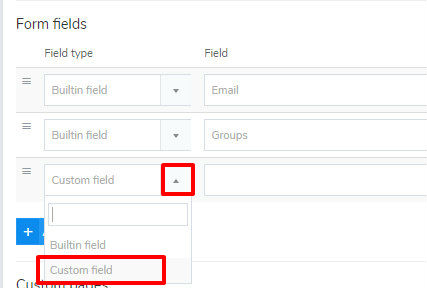
After clicking on Add field, the system will display a new line in the drop-down menu, where we can choose from:
- Built-in fields > these fields were created automatically by the software. Here we have basic fields such as name, city, address
- Custom fields > this option will display all the custom fields we have created manually.
After selecting to add a custom field, we can choose from the available options:
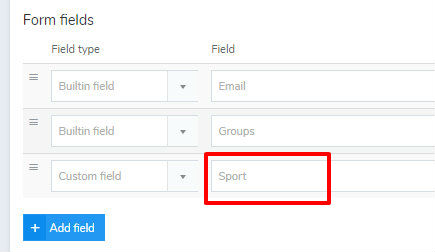
And with this configuration, we can add a new field to our form so users can fill it out.
Asking our new subscribers to fill in their name is also fundamental for creating targeted email campaigns. To do that, we would have to create a new field:
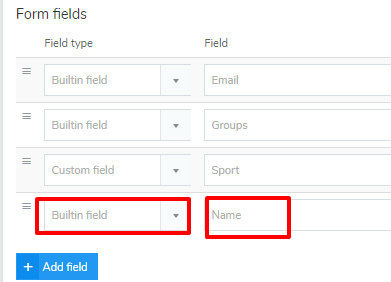
This is a built-in field, so you don’t have to create it manually.
But what if we don’t want the field to be displayed in this order?
We can move the fields by dragging them from the left tab which you can see here:
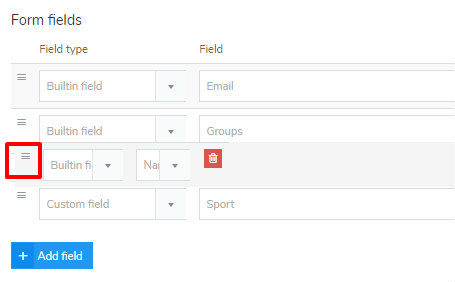
We just have to drag and reorder them.
Surely you now have another question.
►How do I ask my subscribers to confirm that they accept my privacy policy?
This will also be very simple:
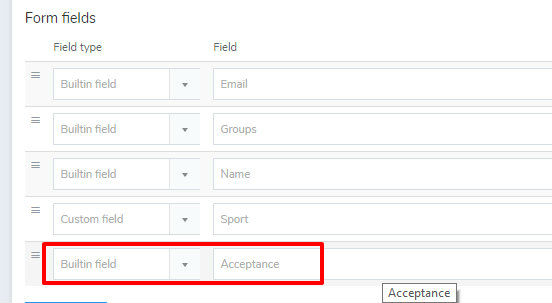
We’ve created a new built-in field, “Accept the privacy policy.“
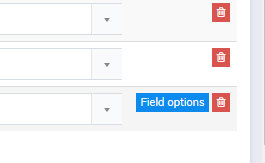
You will need to configure this field, using the “Field Options” button on the right:
When you open this option, we will see a screen like this:
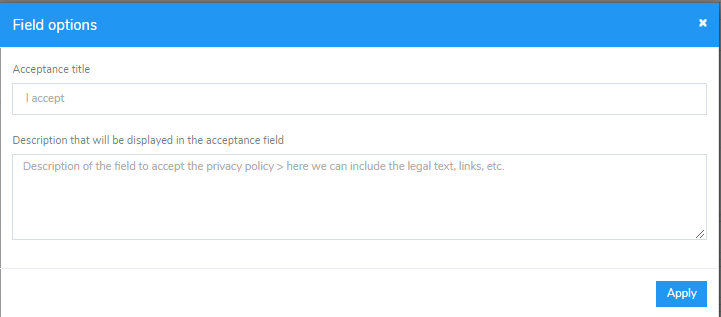
We have two options:
- Title of the field to accept the privacy policy > here we can include a title, usually just a few words
- Description of the field to accept the privacy policy > here we can include the legal text, links, etc.
Later we will see the layout of the new form. Now let’s see how to add:
► Custom Signup Confirmation Pages
You can also include your own signup URLs so that users don’t have to leave your site during the signup process. You can do that on the same screen:
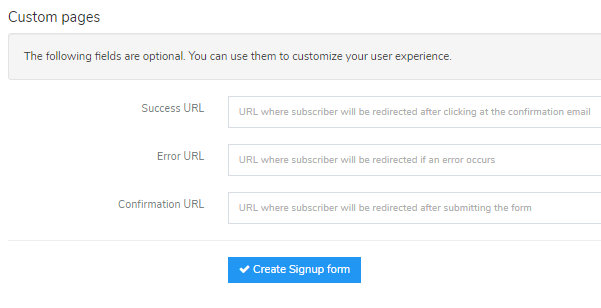
We have three fields available:
- Success URL> This page will be displayed as soon as the subscriber clicks to subscribe
- Error URL> this page will be displayed to inform the new subscriber about any eventual problems. Here you should include a page with information on how to contact you if they can’t finish the process
- Confirmation URL> and this is the last page that will be displayed when the user confirms the subscription.
To save our work, we’ll click on Create signup form.
► Public URL for your opt-in form
When we get back to the list, we’ll see a screen similar to this one:
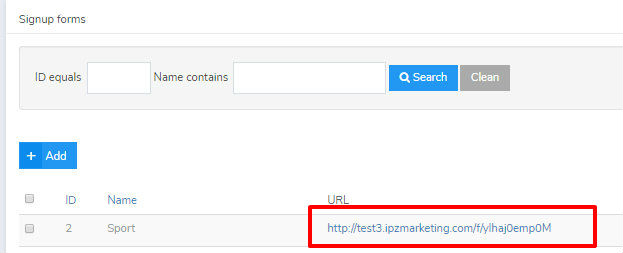
As you can see, the system has generated a URL for the new form. If you access this link; you will be redirected to a page similar to this one:
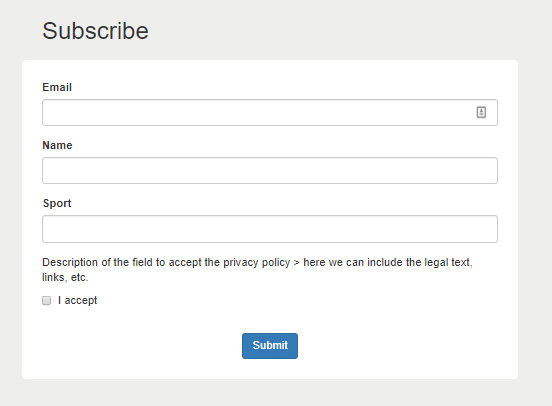
We can see all the fields we defined in the configuration, in addition to the legal text and the acceptance checkbox. The legal text can include a link as we mentioned before, and in case we don’t accept the privacy policy, the system will display a warning:

We can share this page directly since this is a public link. But what we would need to do to add this form to our website?
Very easy, just follow these steps.

· Generating an HTML opt-in form
To get an HTML code that we can paste into our site, first we have to view the form:

We will do it clicking on the magnifying glass icon:
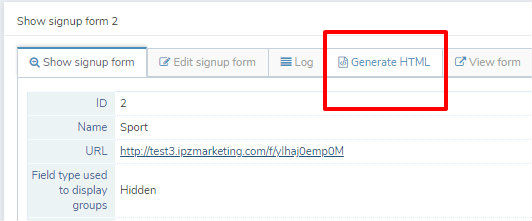
I checked the Generate HTML tab:
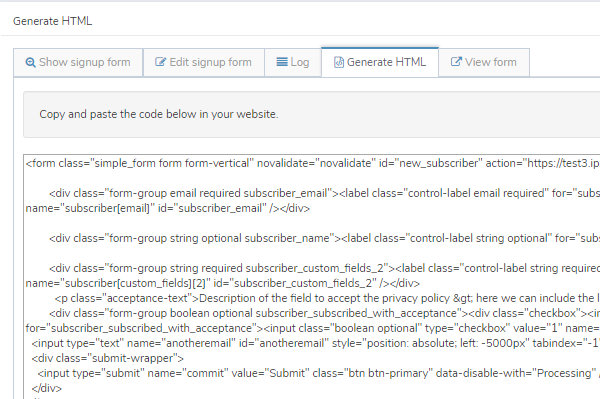
Now we just have to copy all the code and paste it on our website, using an HTML WordPress widget or similar.
We can modify and adjust this code manually, to add more text, change the CTA, etc.
This should be done using an external editor.

· How to modify the texts of the confirmation emails
When a new subscriber is registered, the system will send him an email. However, as this is a double opt-in process, our new subscribers will have to click on a link to confirm that they really want to subscribe to our newsletter.
Double opt-in forms are essential to ensure the security of your databases.
But we can modify the text of this message in the menu Settings -> Notification emails:
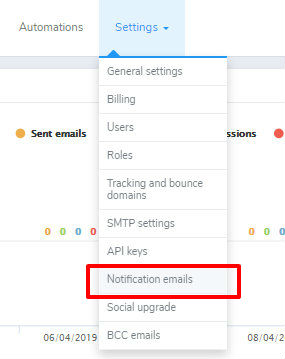
Here we can see several emails that the system sends in several languages:
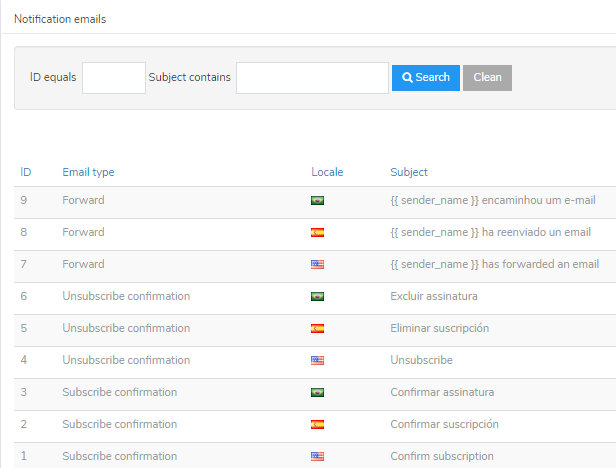
We can modify the confirmation email on the Edit button on the right:

When doing that, we will see this page:
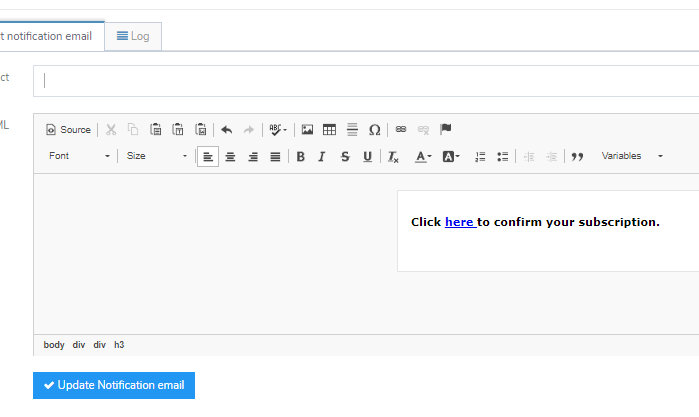
You can change the subject and text of this message, the only important thing is that you should always include a link with these settings:
- Protocol: “other.”
- URL: {{ confirmation_url }}
You can change the rest without any problem, but without this link, the confirmation process will not work.
In any case, if you make a mistake, you can use the button to restore the original email.
These are the key information about creating and customizing opt-in forms. If you need any additional information, please contact our customer service.