
We continue to prepare tutorials for Mailrelay v3, so you can discover all the new features that our email marketing software will offer you.
In today’s tutorial, we’ll look at how to create custom fields and how can we use them to segment our mailing list.
This new feature will be very useful for creating targeted email campaigns.
Let’s get right to the point!
· First we have to create the custom fields we will use
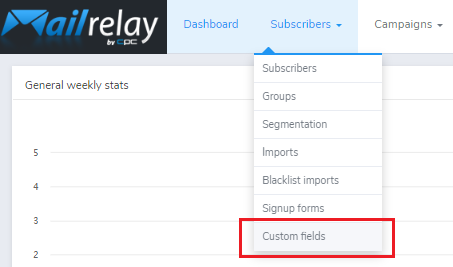
This is very easy, we just have to go to the menu “subscribers” -> “Custom fields”:
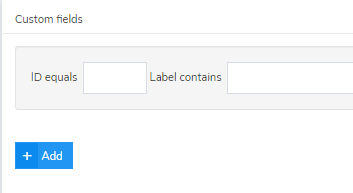
In the next screen, we can see the list of available fields.
If you have not created any fields, the system will indicate that no records were found. We can click on “Add” to create a new field:
When clicking, we will go to the custom fields creation screen:
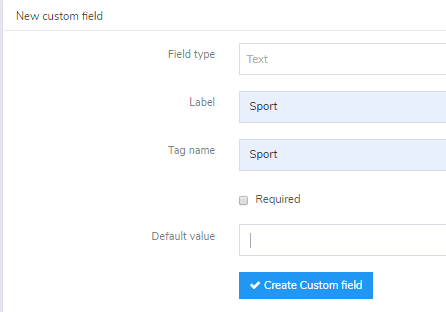
We are creating a field as an example, but we can choose from several options:
- Field type. Here we can choose whether it is a text type field, number, if the subscribers can choose between several options, etc.
- Label. Here we can identify the new field.
- Tag name. This is the name of the tag we will use in our newsletters.
- Required. We can check this option to create fields that we want to use in opt-in forms. Your subscribers will not be able to subscribe to your newsletter if they don’t fill in the required fields.
- Default value. We can use this option to set a default value for the field.
Now we just have to click on Create custom field.
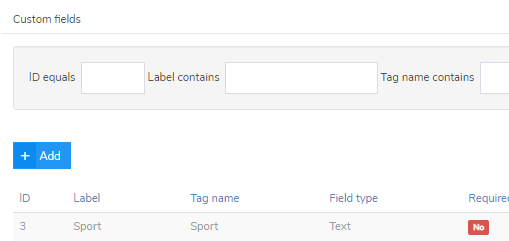
And if we return to the list, we can see our field created:
Now that it’s been created, what can we do with this field?

· Importing a mailing list
Well, after creating the custom fields we’re going to use, one of the first things we can do is to import a mailing list with these fields.
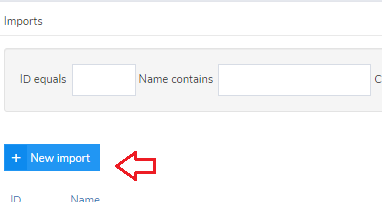
We have to click on the menu subscribers -> Imports and select the button New import:
Now we will have to select some options:
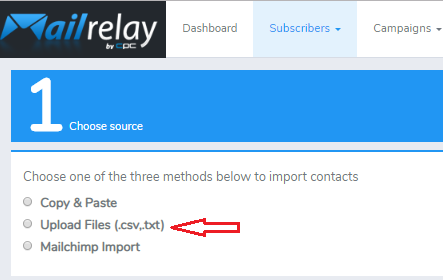
In this case, we will choose the second option Import files (.csv, .txt)
So we just have to choose the file we want to import.
For example, we could create a file like this one:

A contact list in text format, one contact per line, with the fields separated by commas.
If a line doesn’t include all the fields, that is not a problem, the other contacts will be imported.
Once Mailrelay uploads the file, we will need to map the columns, that is, we will have to match the fields of the file with the fields previously created:
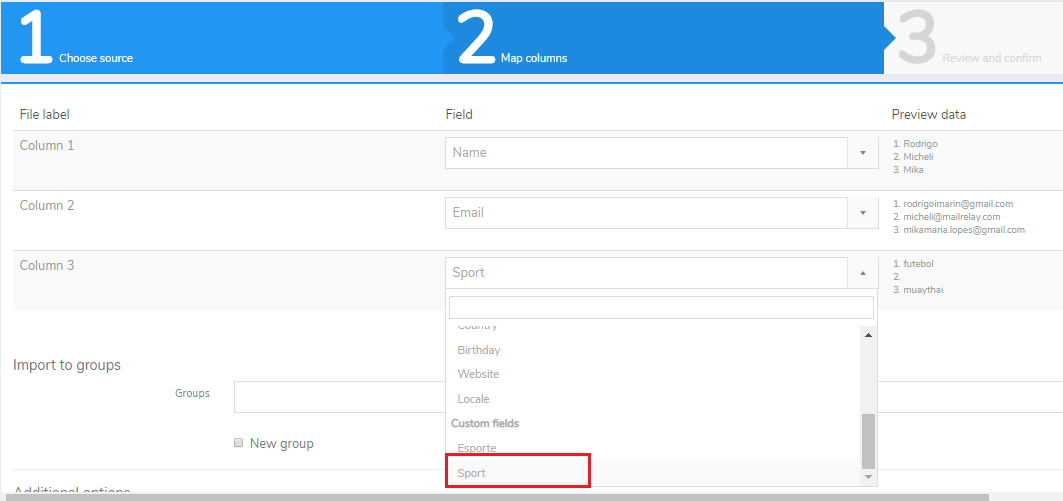
You can see that we have on one side the available fields and the corresponding columns. We can also preview our work to see which fields we will have to match.
I’ve chosen the fields name, email, and the custom field I created earlier.
The rest of the values for this import would be:
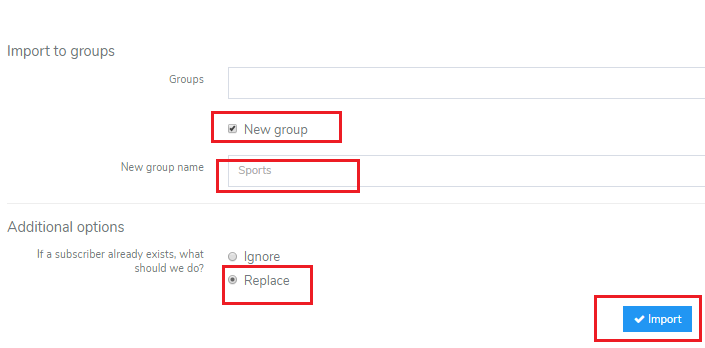
- We can choose to create a new group (although you can choose one of the existing groups)
- If you choose a new group, you will have to name it in the box
- Ignore or replace. This option is important, if you choose to “ignore”, the system will ignore existing contacts. If you choose “replace”, existing contacts will be replaced, and added to the new group.
And finally we can click on Import.
After the process is finished, we will be informed of the result:
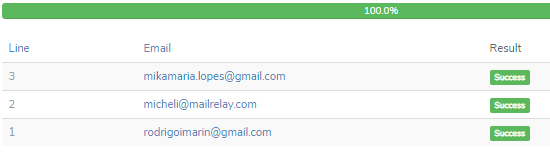
We can see the emails that were imported correctly and those that were not processed.
How can we see the fields for each contact?

· Finding a contact to see its values and custom fields
If we want to see the values of a contact, we can click on Subscribers -> Subscribers and edit the contact:

For each contact line, we have the option to view or edit it.
If, for example, we click on preview, we will see something similar to this screen:
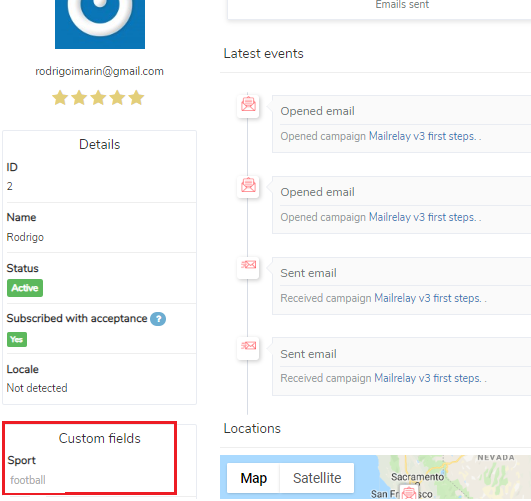
Well, on this screen there is much more information, but for what interests us now we can see the value of the custom field in the lower left corner.
If, instead of viewing, we had chosen the option to edit, we would see this screen:
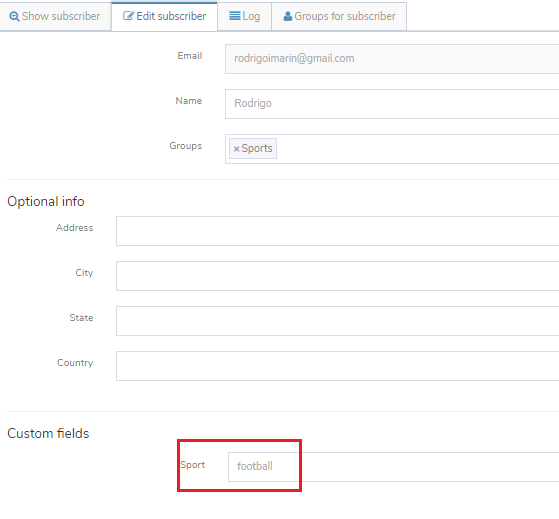
As you can see, there is a section of custom fields where we can see and edit the fields and save the change using the “Update Subscriber” button.
Now let’s see how to use this field in a newsletter.

To create a newsletter, we can click on Campaigns -> Campaigns -> Add.
We have already seen how to do that in the previous tutorial, so we will not repeat all the steps you would have to take to create a newsletter in this guide.
What we’re going to see is how to insert a custom field. To do that, we’ll need a text field:
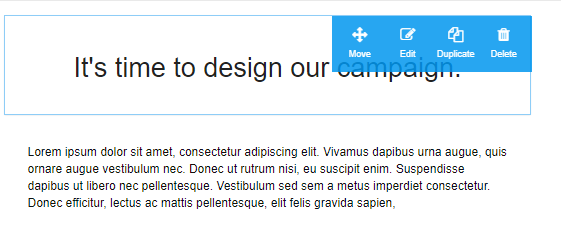
We just have to use the edit button, which will open a new block, see the following image:
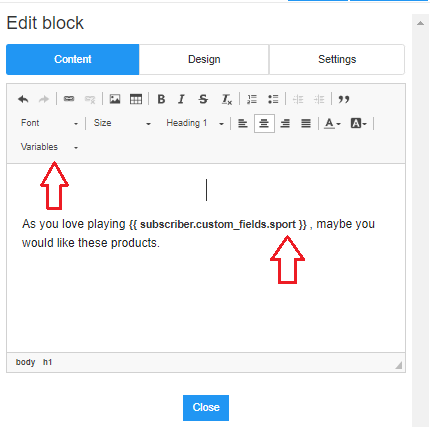
In principle, we only have thedefault filds, and the variables we create will not appear in this list.
But we can use this system to save us some time. We can for example use the field subscriber name, which will insert this tag:
{{ subscriber.name }}
And from there we can modify it:
{{ subscriber.custom_fields.sport }}
Here we have three key points:
- This is a subscriber variable
- It is a custom field (custom_fields)
- And the field in question (sport)
So in the editor, we are going to use this field:
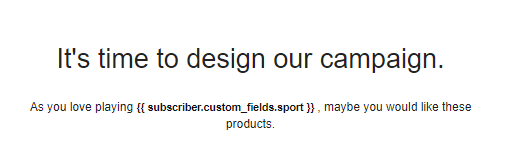
And when the email is sent, the field will be replaced by the value for each subscriber:
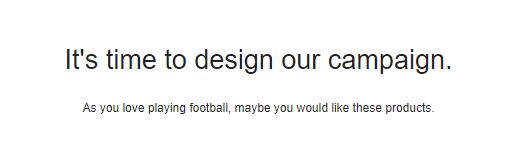
The process is very simple.
Summary
So far, we’ve seen how to import a data base with custom fields, and how to use these fields on our newsletters. However, we also should learn how to target our contact list, so that we can send a custom newsletter only to a segment of the database. That is, only for those who are in the segment we selected.

To filter subscribers and create segments, you will have to click on Subscribers
-> Segmentation:
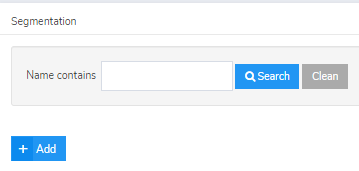
Here we’ll click on Add to create a new segment.
Let’s see the next steps carefully.
This is the screen for creating a new segment.
The first thing we’ll do is name the new segment, for example, “Contacts that practice football.”
The segment name will be used later, but it is critical to identify the new segment, so it should be representative enough that you can find it when you need to use it in your email marketing campaigns.
Now let’s understand what conditions we can configure.
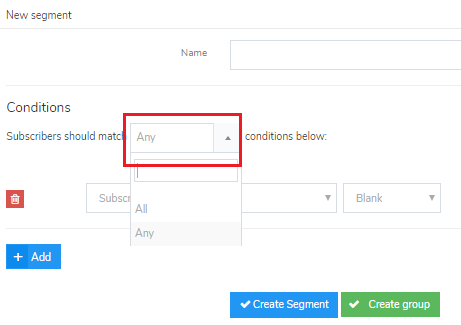
In the field “subscribers should match”, we have to select between:
1 All> All conditions must be met
2 Any> at least one condition must be matched, any of them
This is related to the conditions we will select later. If we will only use one condition, this doesn’t matter, but if we are going to use several, this field will be vital when configuring a new segment.
The next point will be to select the event or field to which we will apply the filter:
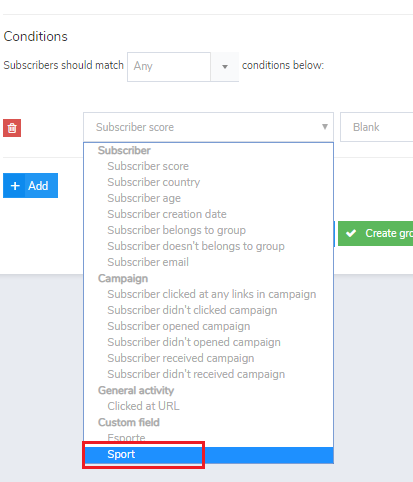
There are several options:
- Related to subscriber
- To emails
- Subscriber activity
- And the custom fields
The operation will be the same, no matter which field we select, but the options that will be available later may vary. For example, if we select the option to work with a custom field, we will see these options:
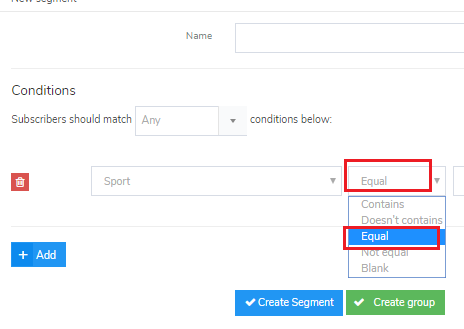
1 Contains> the field must contain the text string that we are going to write later
2 does not contain> it should not contain the string
3 Equal> unlike “contains” in this case, the string must be exactly the same
4 is not equal to> the string is not exactly the same
5 Blank > or it will be blank
Finally, we just will have to fill in the field with the value we want to use:
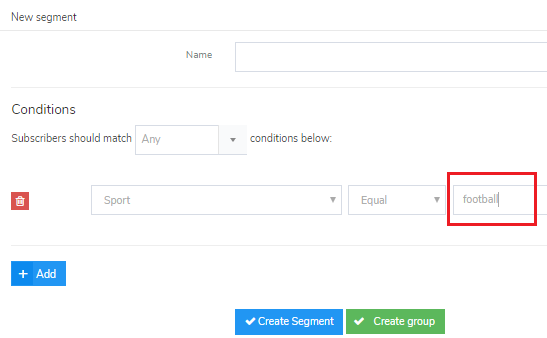
In this case, we are going to write football, which is the value we added in the custom field, among others.
Well, now that we have everything ready, before we move on, we can click the preview button that appears on the right:
This tool will generate a list of subscribers that match the filter that we are creating, for example:
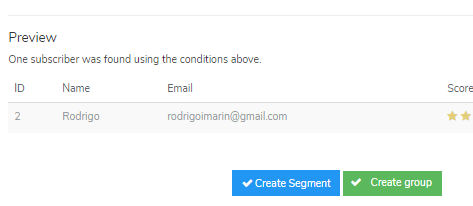
► Now we have to make an important decision.
We have to decide if we will create:
- A segment
- Or a group
What is the difference between these two options?
If we choose the option to create a group, what we will do is create a new group with the contacts that match the selected criteria.
The new group will contain these contacts forever, even if the values are changed in the future.
However, when creating a segment, we are creating a “dynamic” group that will contain the contacts that match the selected criteria.
But
If I edit the contact and change the field from “football” to karate , this contact will no longer belong to the segment once the field is updated.
► ► So, in a segment, we always have the contacts that match the selected criteria, updated in real time. This means that the segment will always be updated and whenever a subscriber is edited, the software will update the segment and add or remove emails based on the settings you selected when you created it.
►► While in a group, we have the contacts that corresponded to the conditions at the time the group was created.
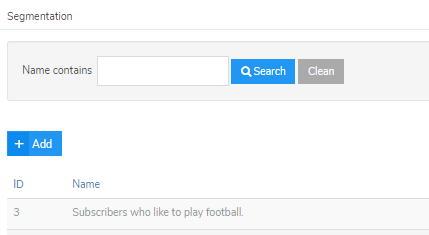
I’m going to create a segment, and we’ll see it in the list like this:
And later, when we send the newsletter:
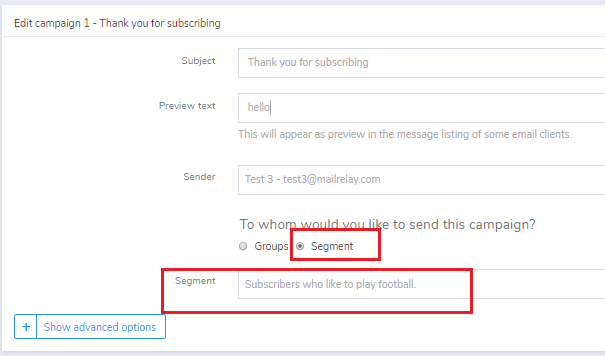
Now we only have to choose the segment option and we can select the segment we created.
As simple as that.
In short
We have seen in this post how to create custom fields, how to use them in our newsletter and how to filter subscribers based on these fields and create segments that we can use in our email campaigns.
It’s a very powerful feature that will help you manage your email list and get better results.